
Introduction
Making homemade pita bread is not only a rewarding experience but also a delightful way to impress family and friends with your culinary skills. With just a few simple ingredients and a bit of time, you can create soft, fluffy pitas that are perfect for stuffing or dipping. Have you ever wondered how those warm, pillowy pockets of bread are made? Well, you’re in luck! In this article, we’ll walk you through an easy homemade pita bread recipe that guarantees success every time.

The beauty of homemade pita bread lies in its versatility. Whether you’re preparing a Mediterranean feast or just looking for a quick and healthy snack, freshly baked pitas can elevate any meal. Plus, they are a great option for young professionals who love homemade food but may feel pressed for time. This recipe only requires about 15 minutes of hands-on preparation, making it an ideal choice for busy weeknights or lazy weekends.
In this recipe, we use basic ingredients like all-purpose flour, salt, sugar, and yeast—elements that come together to create that signature puff that makes pita bread so unique. The warm water and olive oil contribute to the dough’s softness, while the yeast helps it rise to perfection. As you learn to make this homemade pita bread, you’ll not only develop your baking skills but also gain a deeper appreciation for this Middle Eastern staple.
So, roll up your sleeves, gather your ingredients, and let’s dive into the world of homemade pita bread. With just a few simple steps, you’ll be on your way to enjoying delicious, freshly baked pitas in no time!
Key Ingredients
Making homemade pita bread requires just a few essential ingredients, each playing a crucial role in achieving that signature fluffy texture and delicious flavor.
All-Purpose Flour (2 cups)
The backbone of this recipe, all-purpose flour provides the necessary structure and elasticity to the dough. Its moderate protein content helps create a soft yet sturdy pita that can hold your favorite fillings.
Salt (1 teaspoon)
Salt enhances the flavor of the pita bread and strengthens the gluten structure, ensuring that the bread rises properly. It also adds a subtle savoriness that balances the sweetness of the sugar.
Sugar (1 teaspoon)
Sugar serves two primary purposes: it adds a hint of sweetness to the bread and acts as food for the yeast, helping it to activate and rise. This results in a beautifully puffed pita that is perfect for stuffing.
Instant Yeast (1 packet, 2 1/4 teaspoons)
Instant yeast is the magic ingredient that causes the dough to rise. It works quickly and efficiently, allowing you to enjoy freshly baked pitas in no time. No need for proofing here; just mix it right into your dry ingredients!
Warm Water (3/4 cup)
Warm water is essential for activating the yeast and helping to form a cohesive dough. The warmth encourages the yeast to work its magic, resulting in a light and airy pita texture.
Olive Oil (1 tablespoon)
Olive oil adds moisture to the dough, contributing to its softness. It also enhances the flavor and gives the pita a slightly richer taste, making each bite delightful.
With these simple ingredients, you can create a batch of warm, homemade pita bread that is sure to impress. Ready to get started? Let’s move on to the instructions!
Why You’ll Love This Recipe
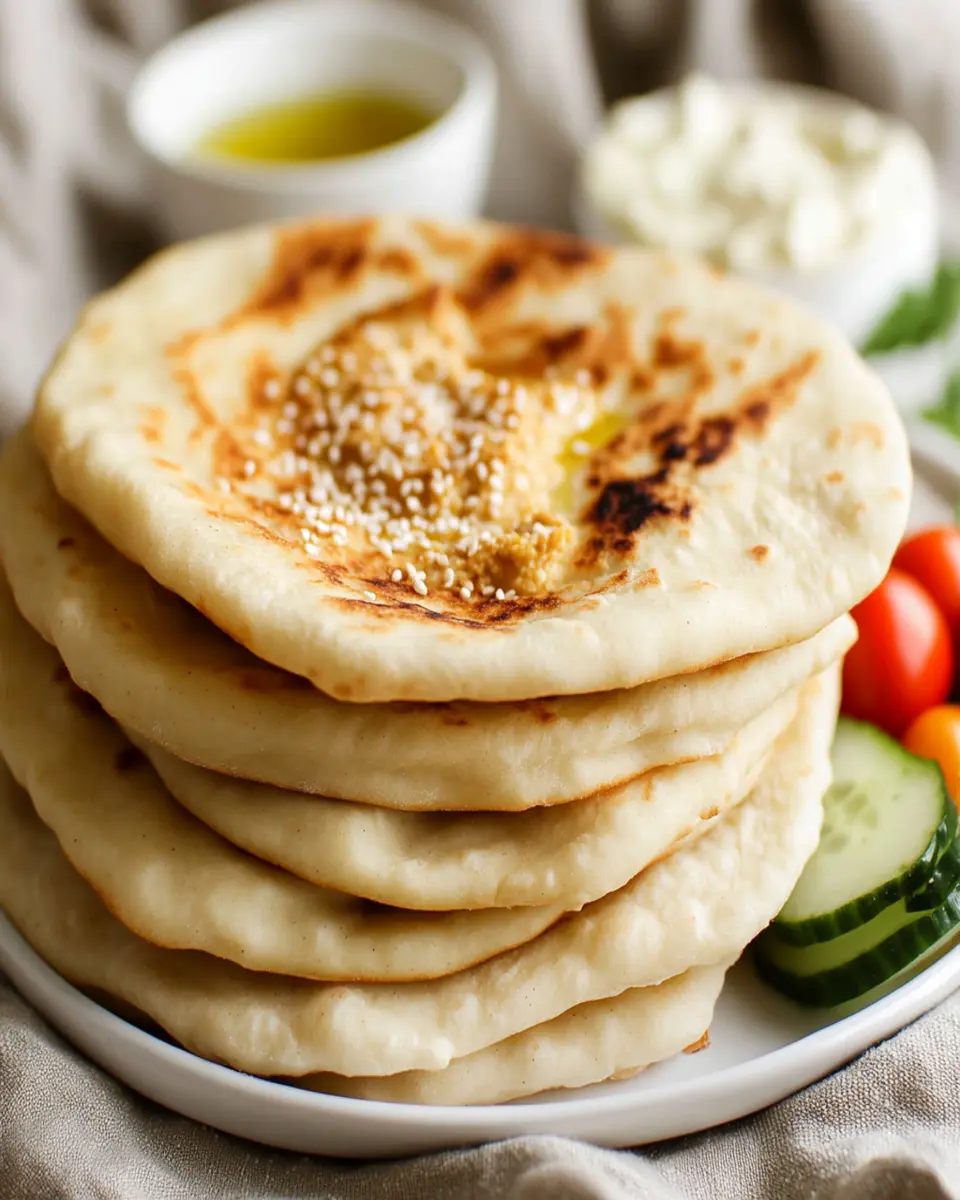
When it comes to making homemade pita bread, this recipe offers simplicity and delicious results that will make your taste buds dance. The joy of pulling freshly baked pitas from the oven is unparalleled. Each bite is warm, soft, and perfect for scooping up your favorite dips or filling with fresh ingredients.
Not only is this homemade pita bread recipe easy to follow, but it also allows you to customize your pitas to suit your preferences. Whether you’re a fan of classic hummus or prefer a more adventurous filling, these pitas serve as a versatile base for any meal. The process of making them is quick, with just 15 minutes of prep time, making it an excellent choice for busy young professionals who love homemade food but need efficiency.
Moreover, by making pita bread at home, you can enjoy the satisfaction of creating something delicious from scratch. Plus, the aroma that fills your kitchen as they bake is simply irresistible. So why not give this homemade pita bread recipe a try? You’ll not only impress your friends and family but also discover a new staple for your meals.
Variations
When it comes to homemade pita bread, the possibilities for variations are as endless as your creativity. This recipe serves as a fantastic base for a variety of flavors and styles, making it perfect for any occasion.
Whole Wheat Pita Bread
For a healthier twist, consider using whole wheat flour instead of all-purpose flour. Whole wheat pitas will have a nuttier flavor and a denser texture, providing more fiber and nutrients. Just keep in mind that you may need to adjust the water slightly due to the different absorption rates of whole wheat flour.
Herb-Infused Pitas
If you want to elevate the flavor profile, try adding dried herbs such as oregano, thyme, or rosemary directly into the flour mixture. This will give your pitas an aromatic boost and make them ideal for pairing with Mediterranean dips or as a side for soups.
Spiced Pitas
For a unique twist, add spices like cumin, coriander, or paprika to the dough for an extra kick. These spiced pitas can complement spicy fillings or be served alongside dishes like falafel or shawarma.
Flavored Oils
Instead of plain olive oil, experiment with infused oils such as garlic oil or chili oil. This can add another layer of flavor, making your pitas even more enticing.
With these variations, you can customize your homemade pita bread recipe to suit your taste preferences and impress your guests!
Cooking Tips and Notes
When making your homemade pita bread, there are several tips to ensure perfect results every time. The key to achieving that delightful puff is to ensure your oven is preheated to the right temperature—475°F (245°C) is ideal. Using a baking stone can also help distribute heat evenly, resulting in perfectly baked pitas.
Rising the Dough
For best results, allow the dough to rise in a warm place, like near a preheated oven or in a sunny spot in your kitchen. This will help the yeast activate effectively, ensuring a good rise. If your kitchen is cool, consider covering the dough with a damp cloth to retain moisture and warmth.
Storing Your Pitas
Once your pitas are baked and cooled, store them in an airtight container to maintain their softness. If you plan to keep them for an extended period, consider freezing them. Just place parchment paper between each pita to prevent sticking, and they’ll be ready to thaw and enjoy whenever you crave fresh bread.
These cooking tips will guide you in creating delicious, fluffy pitas that will surely impress! Whether you’re serving them with dips or using them for sandwiches, your efforts in making homemade pita bread will be well worth it.
Serving Suggestions
Freshly baked homemade pita bread is incredibly versatile and can be served in a multitude of ways. Whether you’re hosting a gathering or enjoying a quiet meal at home, these suggestions will help you make the most of your delicious pitas.
Dips and Spreads
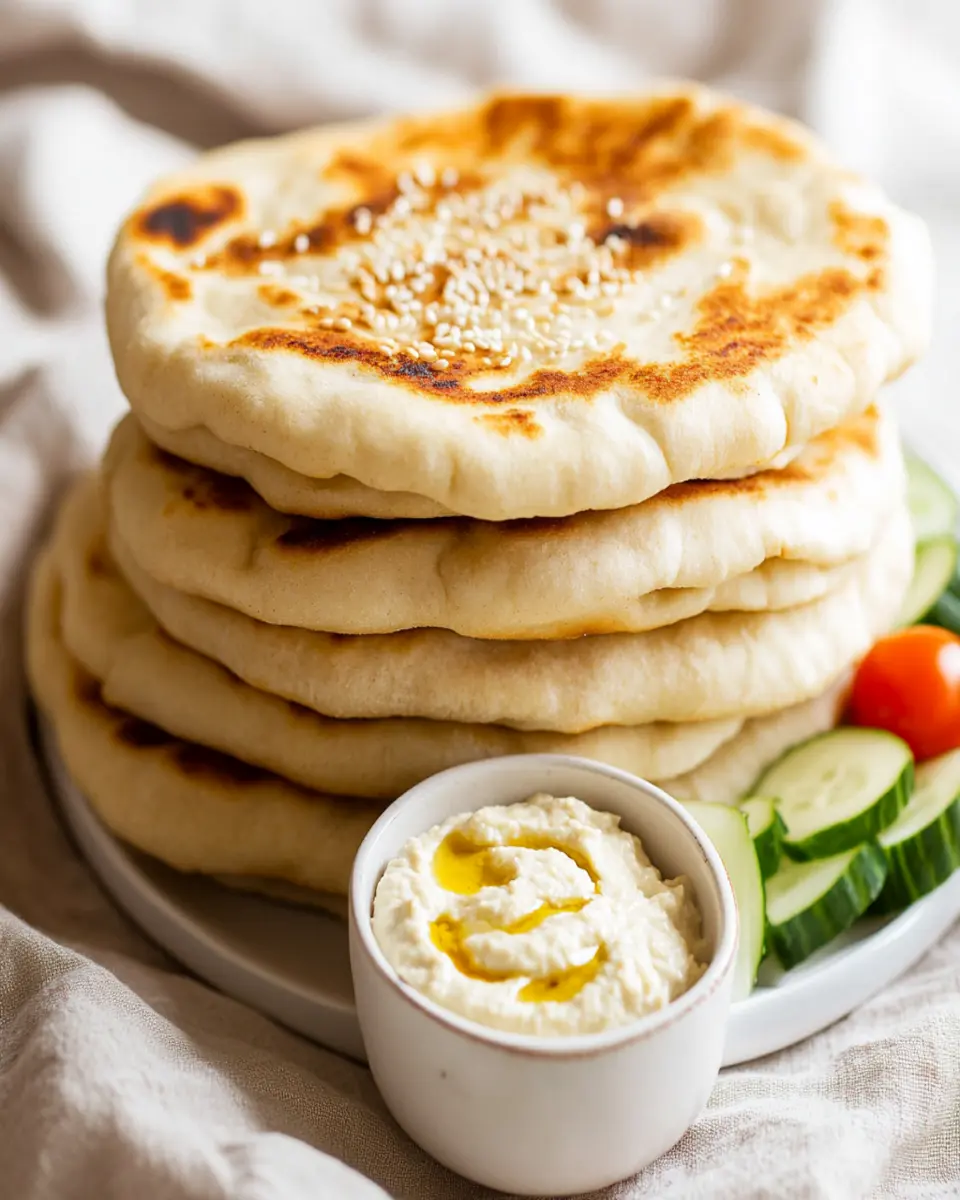
Pita bread pairs beautifully with a variety of dips. Classic options include hummus, tzatziki, or baba ganoush. The soft, warm pitas are perfect for scooping up these flavorful spreads, making them a great addition to any appetizer platter.
Sandwiches and Wraps
Use your homemade pita bread as a pocket for your favorite sandwiches or wraps. Fill them with grilled vegetables, falafel, or sliced meats, and dress with fresh herbs and sauces for a satisfying meal. This is an excellent way to create a quick lunch or dinner that’s both nutritious and delicious.
Salads
Cut the pita into wedges and toast them for a crunchy salad topping. They add a delightful texture to Mediterranean salads or grain bowls, elevating your dish while complementing the fresh ingredients.
These serving suggestions highlight the flexibility of the homemade pita bread recipe, allowing you to enjoy it in various delicious ways at any time of the day!
Time Breakdown
When making this homemade pita bread, understanding the time involved can help you plan better. Here’s a quick breakdown:
Preparation
15 minutes
This includes gathering your ingredients and mixing the dough until it forms a cohesive ball.
Cooking/Baking
5 minutes
The actual baking time for the pitas is short, so keep an eye on them as they puff up in the oven!
Total
1 hour 20 minutes
Most of this time is spent allowing the dough to rise, making it convenient for young professionals to prepare while multitasking.
With just a little hands-on time, you can enjoy fresh pita bread that elevates any meal.
Nutritional Facts
Understanding the nutritional value of your homemade pita bread can help you enjoy it as part of a balanced diet. Each serving of this homemade pita bread recipe contains approximately 170 calories, making it a satisfying and relatively low-calorie option.
Key Nutritional Information
- Total Fat: 2g (with no saturated or trans fats, making it heart-friendly)
- Cholesterol: 0mg, which is great for those monitoring their cholesterol intake.
- Sodium: 150mg, a moderate amount that can fit into most dietary plans.
- Total Carbohydrates: 35g, including 1g of dietary fiber, contributing to your daily fiber goals.
- Protein: 5g, providing a good source of plant-based protein for energy.
This balance of nutrients makes this homemade pita bread recipe not just delicious but also a nutritious addition to your meals. Whether you’re using it for wraps, sandwiches, or dipping, you can feel good about serving it to family and friends!
FAQ based on “People Also Ask” Section
How do I make my pita bread puff up?
To ensure your homemade pita bread puffs up beautifully, make sure your oven is fully preheated to 475°F (245°C) before baking. Also, rolling the dough evenly into discs and baking them on a hot baking stone can help create the steam that causes the pitas to puff.
Can I freeze homemade pita bread?
Yes, you can freeze homemade pita bread! After baking, let the pitas cool completely, then stack them with parchment paper in between each pita to prevent sticking. Store them in an airtight freezer bag for up to three months.
What can I serve with pita bread?
Homemade pita bread is incredibly versatile and can be served with a variety of dips such as hummus, tzatziki, or baba ganoush. They also make great wraps for grilled meats, veggies, or salads.
How long can I store pita bread?
Cooled pita bread can be stored at room temperature in an airtight container for up to two days. For longer storage, consider freezing them to maintain their freshness.
Conclusion
In conclusion, this homemade pita bread recipe is not just simple but also incredibly rewarding. With minimal ingredients and straightforward instructions, you can create soft, fluffy pitas that enhance any meal. Whether you enjoy them with dips, as wraps, or simply on their own, these pitas are versatile and delicious.
The satisfaction of making your own bread from scratch is unmatched, and with this recipe, you can impress family and friends alike. So why not give it a try? Bake, share, and enjoy your homemade pita bread today! Don’t forget to save this recipe for your next culinary adventure!
Print
Homemade Pita Bread Recipe
- Total Time: 1 hour 20 minutes
- Yield: 8 pitas 1x
- Diet: Vegetarian
Description
Learn how to make soft and delicious homemade pita bread with this easy recipe!
Ingredients
- 2 cups all-purpose flour
- 1 teaspoon salt
- 1 teaspoon sugar
- 1 packet instant yeast (2 1/4 teaspoons)
- 3/4 cup warm water
- 1 tablespoon olive oil
Instructions
- In a bowl, mix the flour, salt, sugar, and yeast.
- Add warm water and olive oil, then mix until a dough forms.
- Knead the dough for about 5 minutes until smooth.
- Cover and let it rise for 1 hour, or until doubled in size.
- Preheat the oven to 475°F (245°C) with a baking stone inside.
- Divide the dough into balls and roll each into a flat disc.
- Bake pitas for about 5 minutes or until they puff up.
- Remove from the oven and let cool slightly before serving.
Notes
- For best results, allow the dough to rise in a warm place.
- Store cooled pitas in an airtight container to maintain softness.
- Prep Time: 15 minutes
- Cook Time: 5 minutes
- Category: Bread
- Method: Baking
- Cuisine: Middle Eastern
Nutrition
- Serving Size: 1 pita
- Calories: 170
- Sugar: 0g
- Sodium: 150mg
- Fat: 2g
- Saturated Fat: 0g
- Unsaturated Fat: 1g
- Trans Fat: 0g
- Carbohydrates: 35g
- Fiber: 1g
- Protein: 5g
- Cholesterol: 0mg